Receiving with Webhooks AutoConfig
Webhooks AutoConfig is an easier way to configure and consume webhooks.
receiving-webhooks skill teaches Claude, Cursor, and other agents to verify webhooks the right way.Install with
npx skills add svix/ai --skill receiving-webhooks.With AutoConfig, you can set your webhook endpoint URL, event types, and other configuration in code and AutoConfig will automatically ensure the settings are up to date. Configuration automatically changes when your code changes without needing to go to the UI and reconfigure the endpoint.
How to use Webhooks AutoConfig
Create an endpoint
Create an endpoint and select AutoConfig as the configuration method.

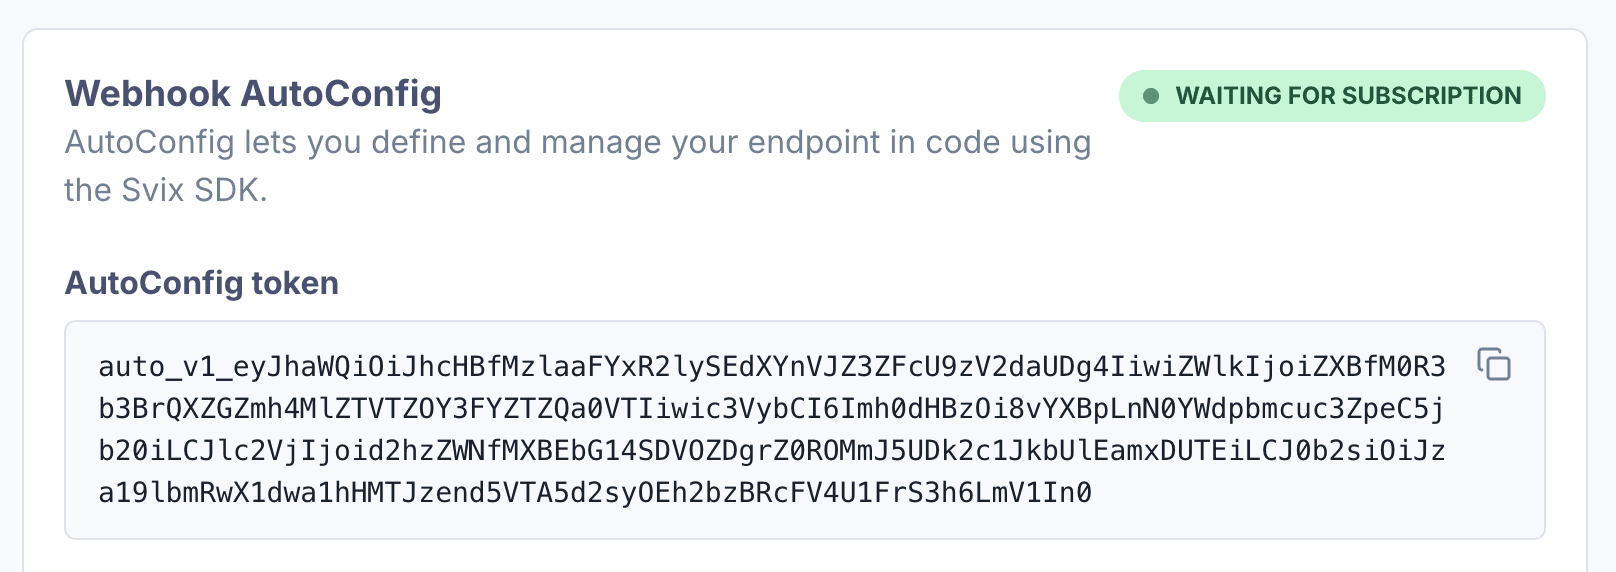
Get the AutoConfig token
Get the AutoConfig token.
Configure your application
Set the endpoint configuration and the AutoConfig token in your application code.
Call subscribe()
Call subscribe() to complete the configuration.
import { AutoConfig } from "svix";

const webhook = new AutoConfig(AUTO_CONFIG_TOKEN, {
  filterTypes: ["invoice.paid", "user.created"],
  url: "https://api.us.example.com/webhooks/acme",
});

await webhook.subscribe();Calling subscribe() can be done as part of the application startup process, or in CI/CD as part of the deployment process, so the endpoint configuration is always in sync with the latest version of the application code.
Payload Verification
When using Webhooks AutoConfig, payload verification is supported out of the box. No need to wire up additional secrets.
To verify the payload, call verify() on the same AutoConfig instance you used to subscribe. The AutoConfig token contains the secret key to verify the payload.
import { AutoConfig } from "svix";

const webhook = new AutoConfig(AUTO_CONFIG_TOKEN, {
  filterTypes: ["invoice.paid", "user.created"],
  url: "https://api.us.example.com/webhooks/acme",
});

webhook.verify(payload, headers);
payload and headers depend on the framework (see Verifying Webhooks).
Use the raw request body when verifying webhooks
You need to use the raw request body when verifying webhooks, as the cryptographic signature is sensitive to even the slightest changes. You should watch out for frameworks that parse the request as JSON and then stringify it because this can break the signature verification.
See Verifying Webhooks for more details.
Integrating with your application
AutoConfig can be used in a variety of ways, depending on your application and server architecture.
The key is to call subscribe() when your endpoint configuration changes, so your code is always in sync with the latest version of the application.
The simplest way to ensure this is to call subscribe() in the startup process of your application.
For example, in Express.js, you can call subscribe() in an Express.js server:
import express from "express";
import { AutoConfig } from "svix";

const app = express();

const webhook = new AutoConfig(AUTO_CONFIG_TOKEN, {
  filterTypes: ["invoice.paid", "user.created"],
  url: "https://api.us.example.com/webhooks/acme",
});

async function start() {
  await webhook.subscribe();
  app.listen(3000);
}

start();
When using a serverless framework, there are lifecycle hooks where you can call subscribe() during the server startup process.
For example, in Next.js, you can use instrumentation to subscribe when a new Next.js server instance is initiated.
import { AutoConfig } from "svix";

const webhook = new AutoConfig(AUTO_CONFIG_TOKEN, {
  filterTypes: ["invoice.paid", "user.created"],
  url: "https://api.us.example.com/webhooks/acme",
});

export async function register() {
  await webhook.subscribe();
}
Alternatively, AutoConfig can even be used in a CI/CD pipeline, to update the endpoint configuration as part of your deployment process:
name: deploy
on:
  push:
    branches: [main]
jobs:
  subscribe-endpoint:
    runs-on: ubuntu-latest
    steps:
      - uses: actions/checkout@v4
      - uses: actions/setup-node@v4
        with:
          node-version: "20"
      - run: npm ci
      - run: |
          node --input-type=module <<'EOF'
          import { AutoConfig } from "svix";

          const webhook = new AutoConfig(AUTO_CONFIG_TOKEN, {
            filterTypes: ["invoice.paid", "user.created"],
            url: "https://api.us.example.com/webhooks/acme",
          });

          await webhook.subscribe();
          EOF
        env:
          AUTO_CONFIG_TOKEN: ${{ secrets.AUTO_CONFIG_TOKEN }}