Managing Environments
This section explains how to add and use multiple environments (e.g. dev, staging, and prod) from the same account.
What are environments
It's common practice for engineering teams to have multiple environments, such as development, staging, and production. The idea behind having multiple environments is to be able to test changes in isolation and catch issues before they hit production. So for example, a developer may make some changes locally, test them, and push them for testing in CI/CD. Following that, the change will be moved to a shared development environment where it would be tested by the wider team. Changes that pass this level of testing will move to staging, where they are deployed to an environment that's as similar as possible to the production environment, and after all testing pass there they would be deployed to production and rolled out to users.
Not all teams go through all of the steps above (and some go through more), but the idea remains the same: you want to isolate your production environment, where real user data lies, from your non-production environments that may contain bugs and regressions.
Managing environments
Your Svix environments are completely isolated and have separate data, settings, and API keys.
You can create as many environments as you want from the Environment Management page on the dashboard.
Add environments
Click on New Environment, choose a name, mark the environment as either Development or Production, and choose the wanted region.
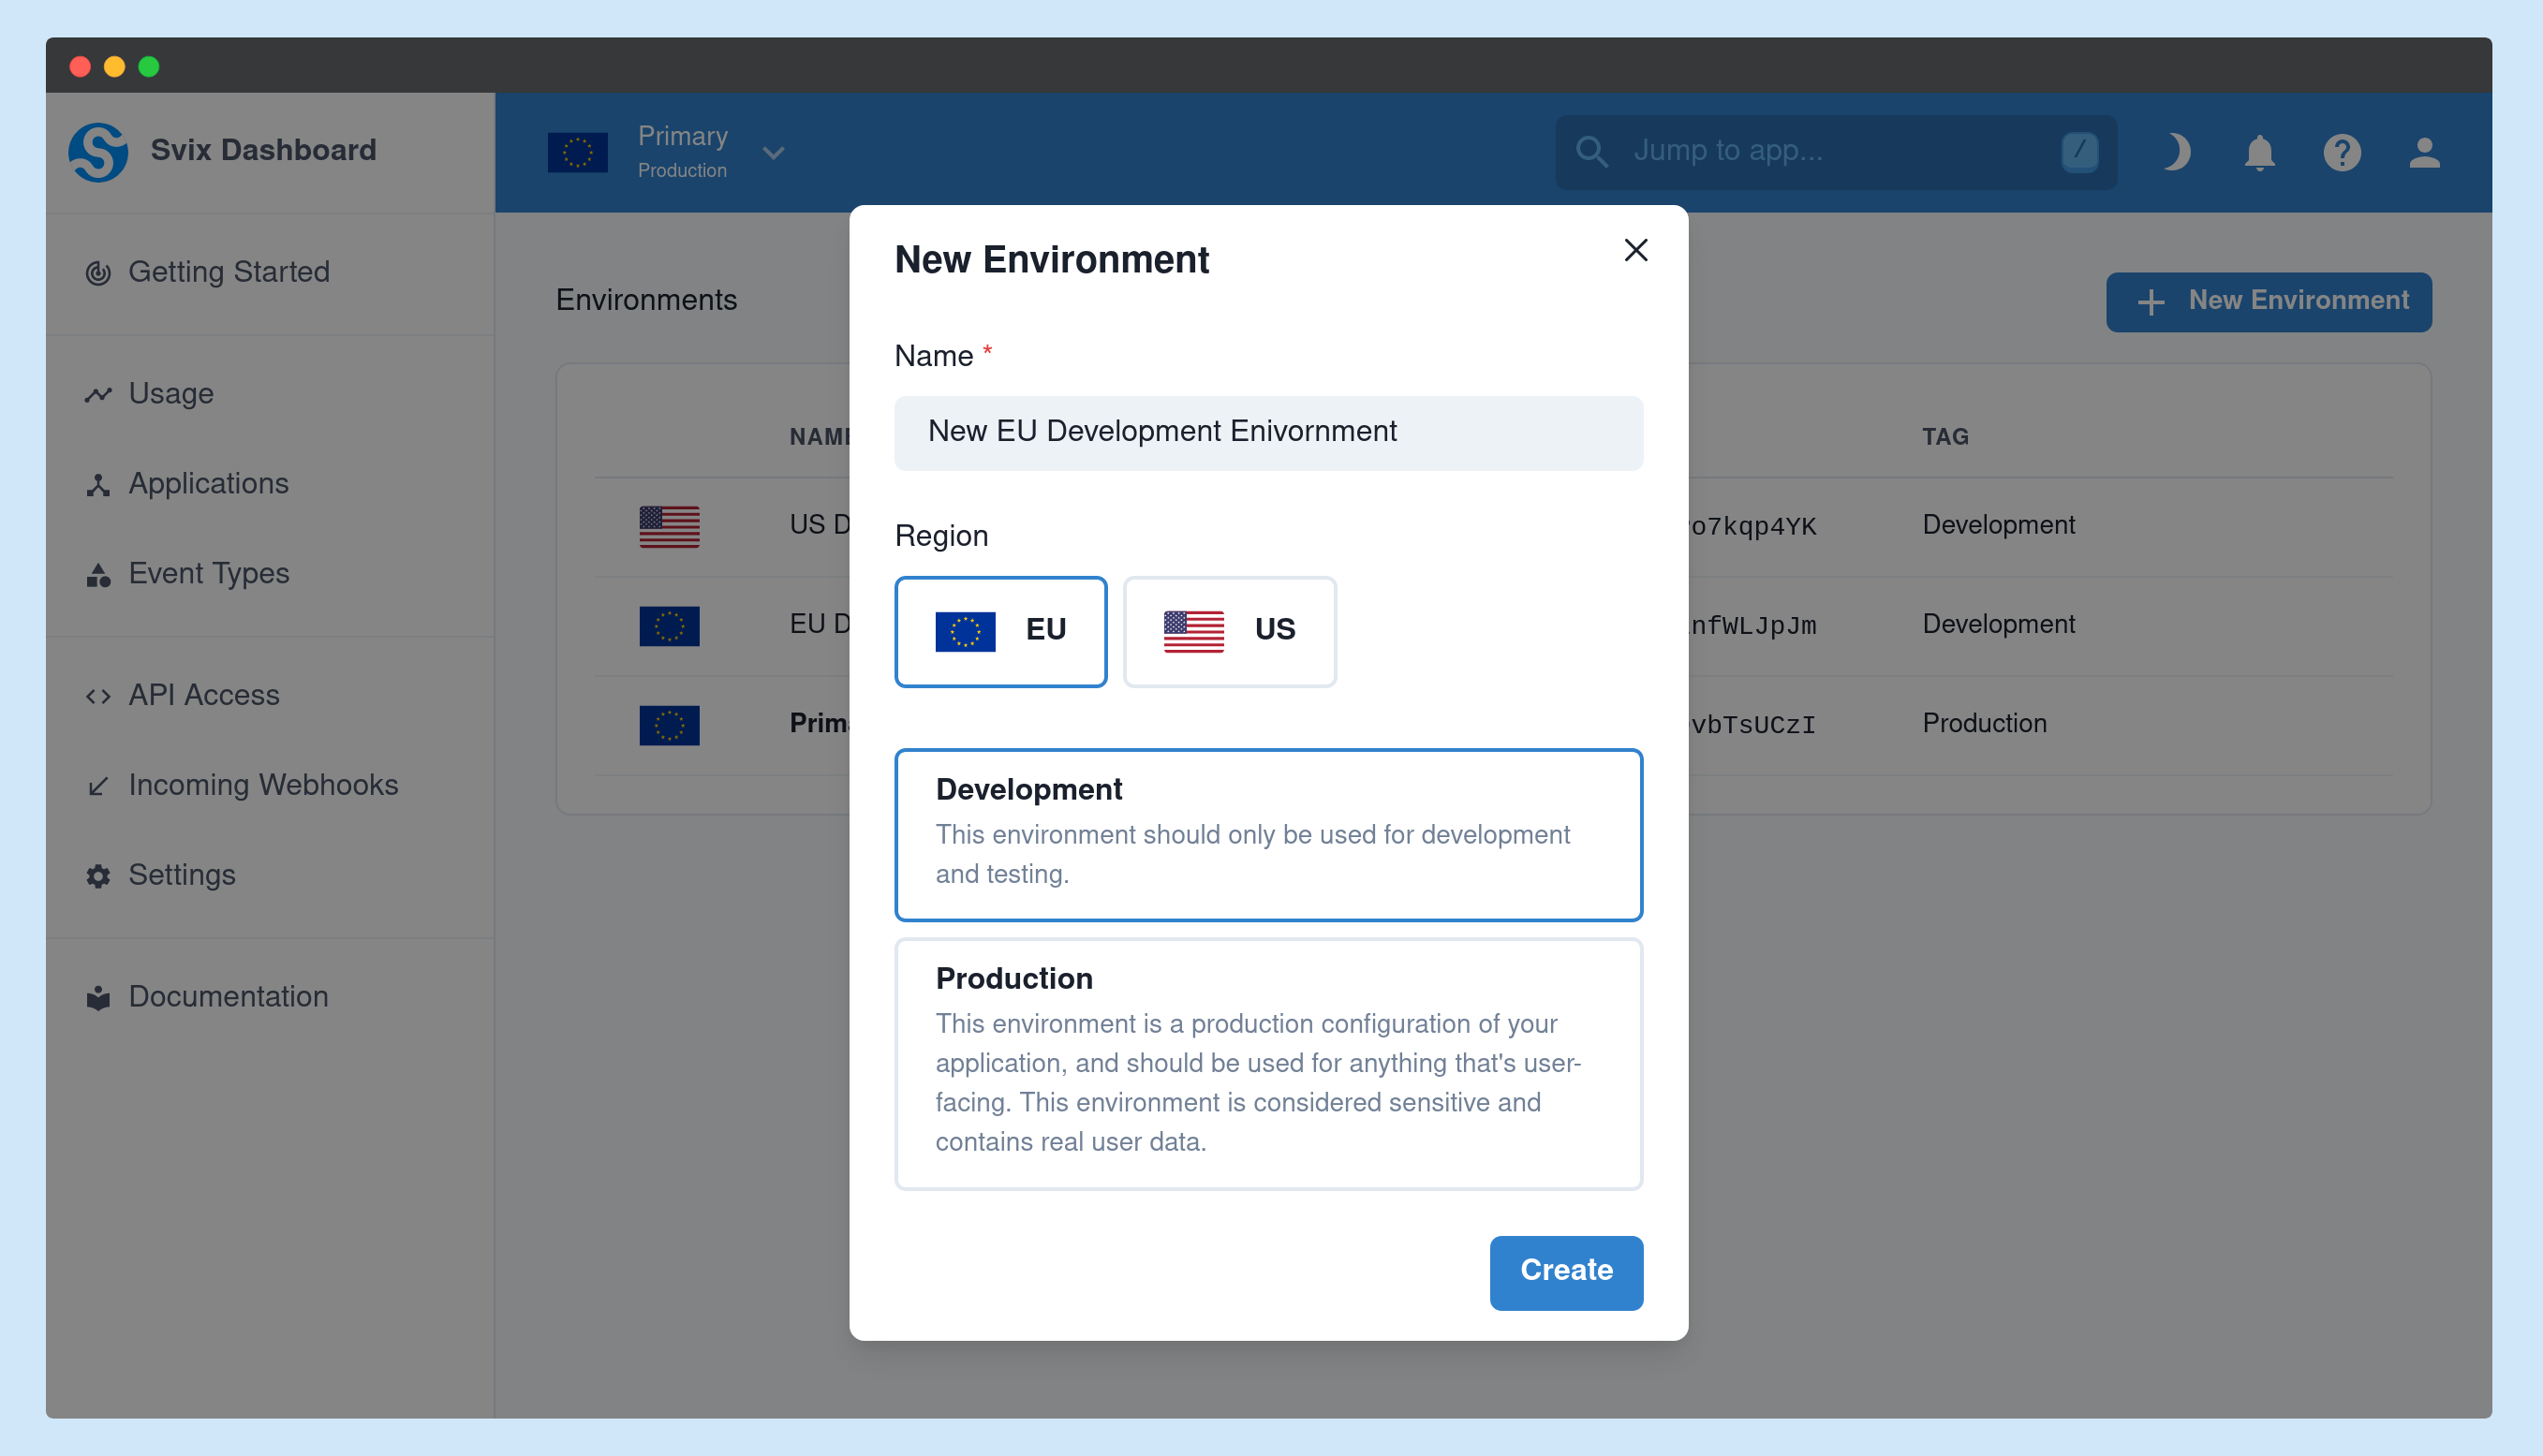
Development and Production environments behave almost exactly the same. The main difference is the associated tag and the visual indicator, as well as some other minor differences.
View environments
This is how it looks like after adding multiple environments:
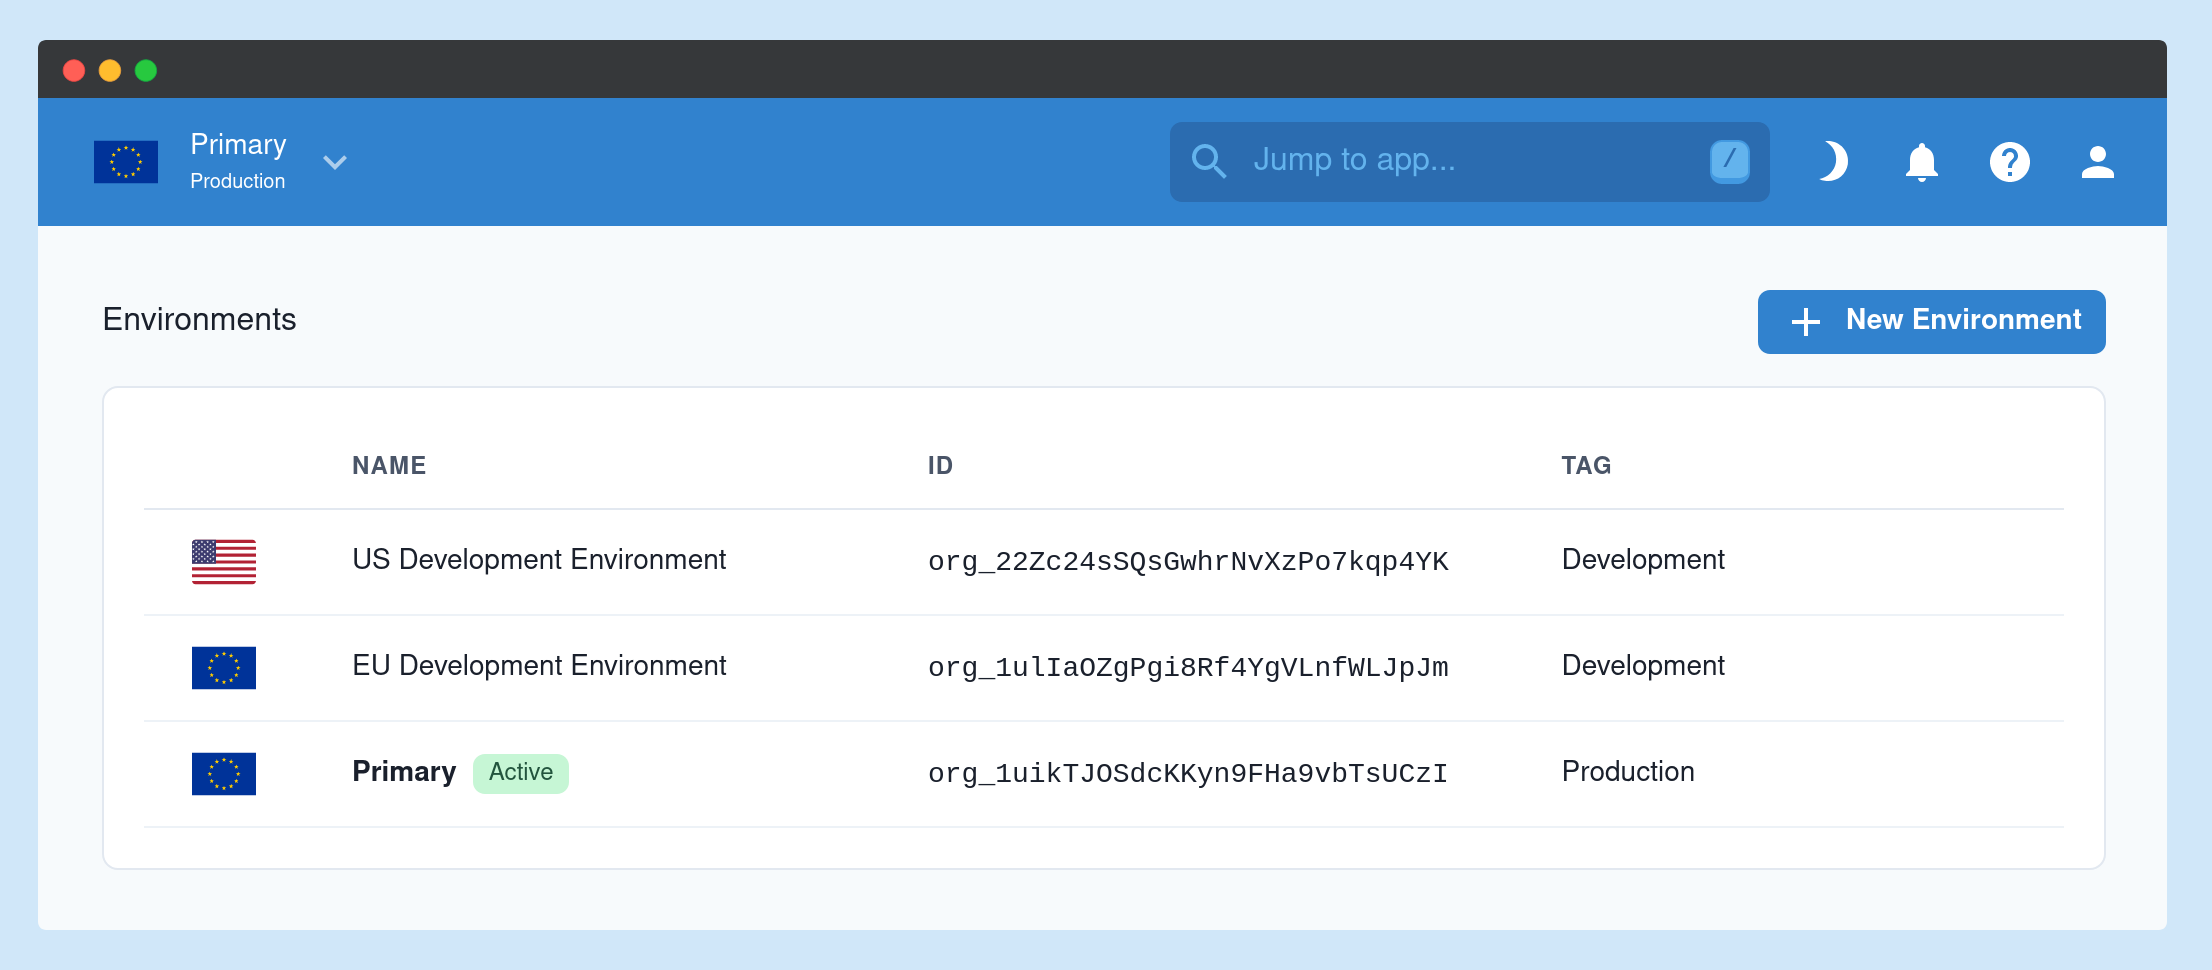
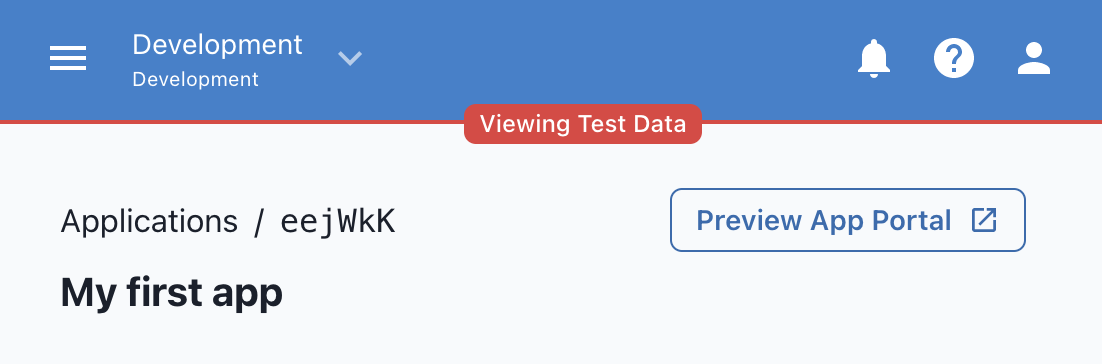
You can then switch between the active environment using the switcher on the top left corner and just start using that environment like you used your account before.
Environment-specific settings
When configuring your environments, it's important to know which settings are shared across your environments and which are kept separate. On the settings page, there is a separate section for "environment-specific" settings.
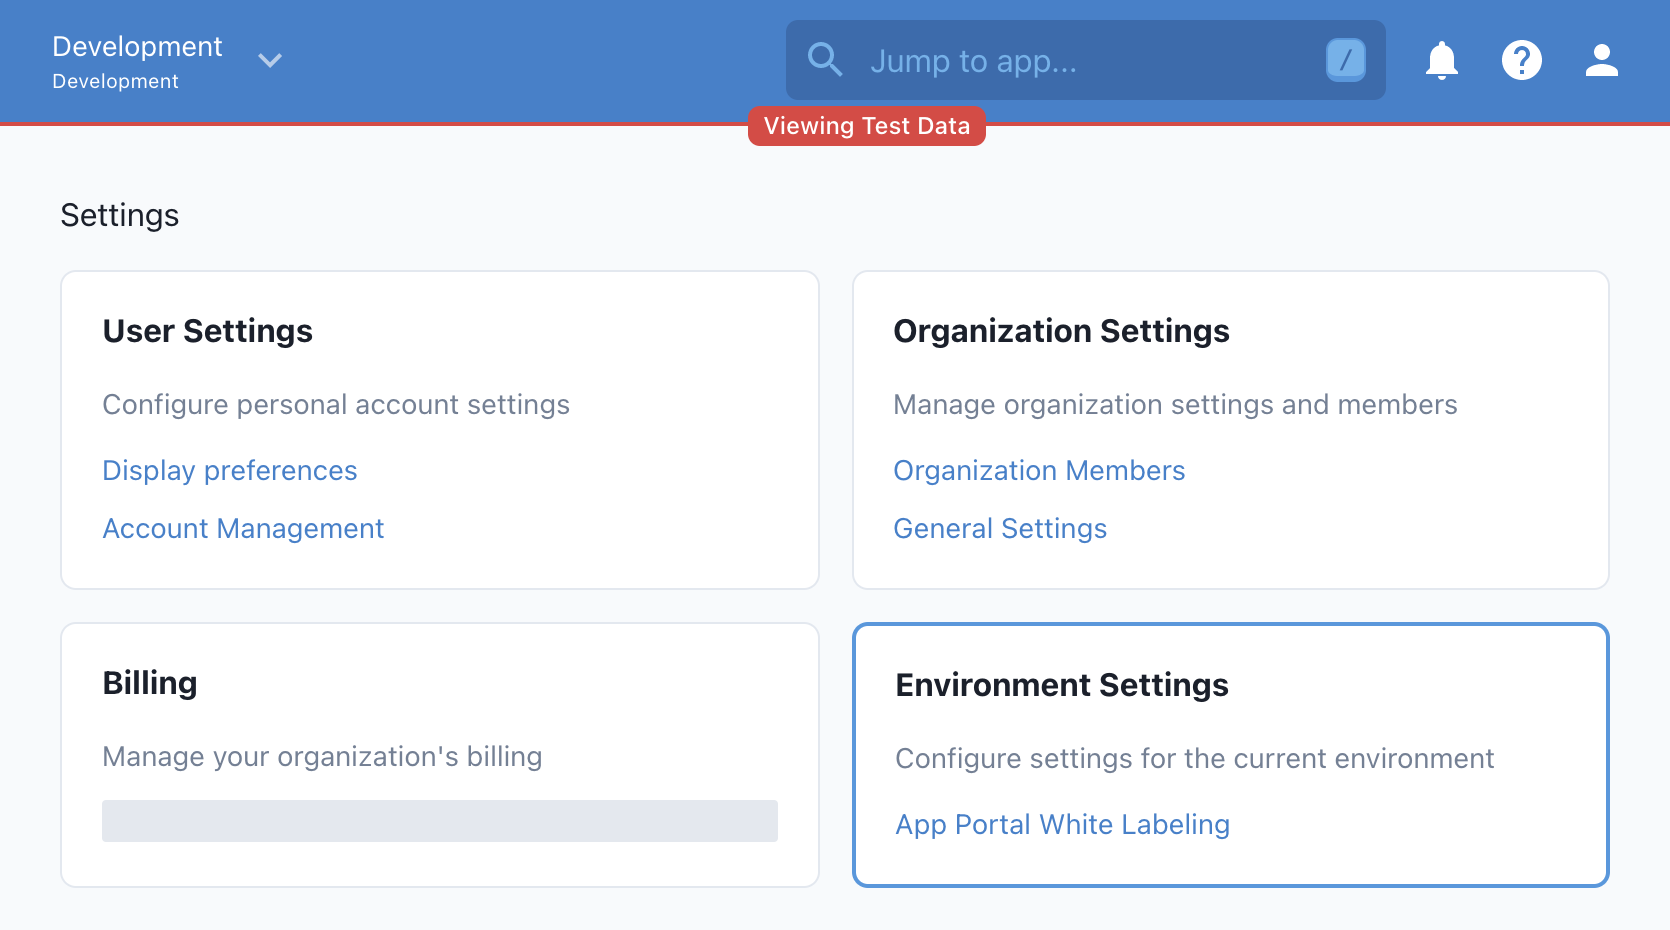
App Portal White Labeling
The App Portal White Labeling is configured separately for each environment. This allows you to experiment with how the App Portal will look in your development environment without affecting your production users.
HTTPS Only Endpoints
It is strongly recommended that all registered endpoints in production environments are secured with HTTPS. If you want to allow unsecure endpoints (HTTP) on any environment, you may do so on the "General Settings" page.
As of October 1st, 2021, HTTPS Only Endpoints is enabled by default on newly created environments. If your environment was created before then, the default was disabled and your environment was left unchanged.
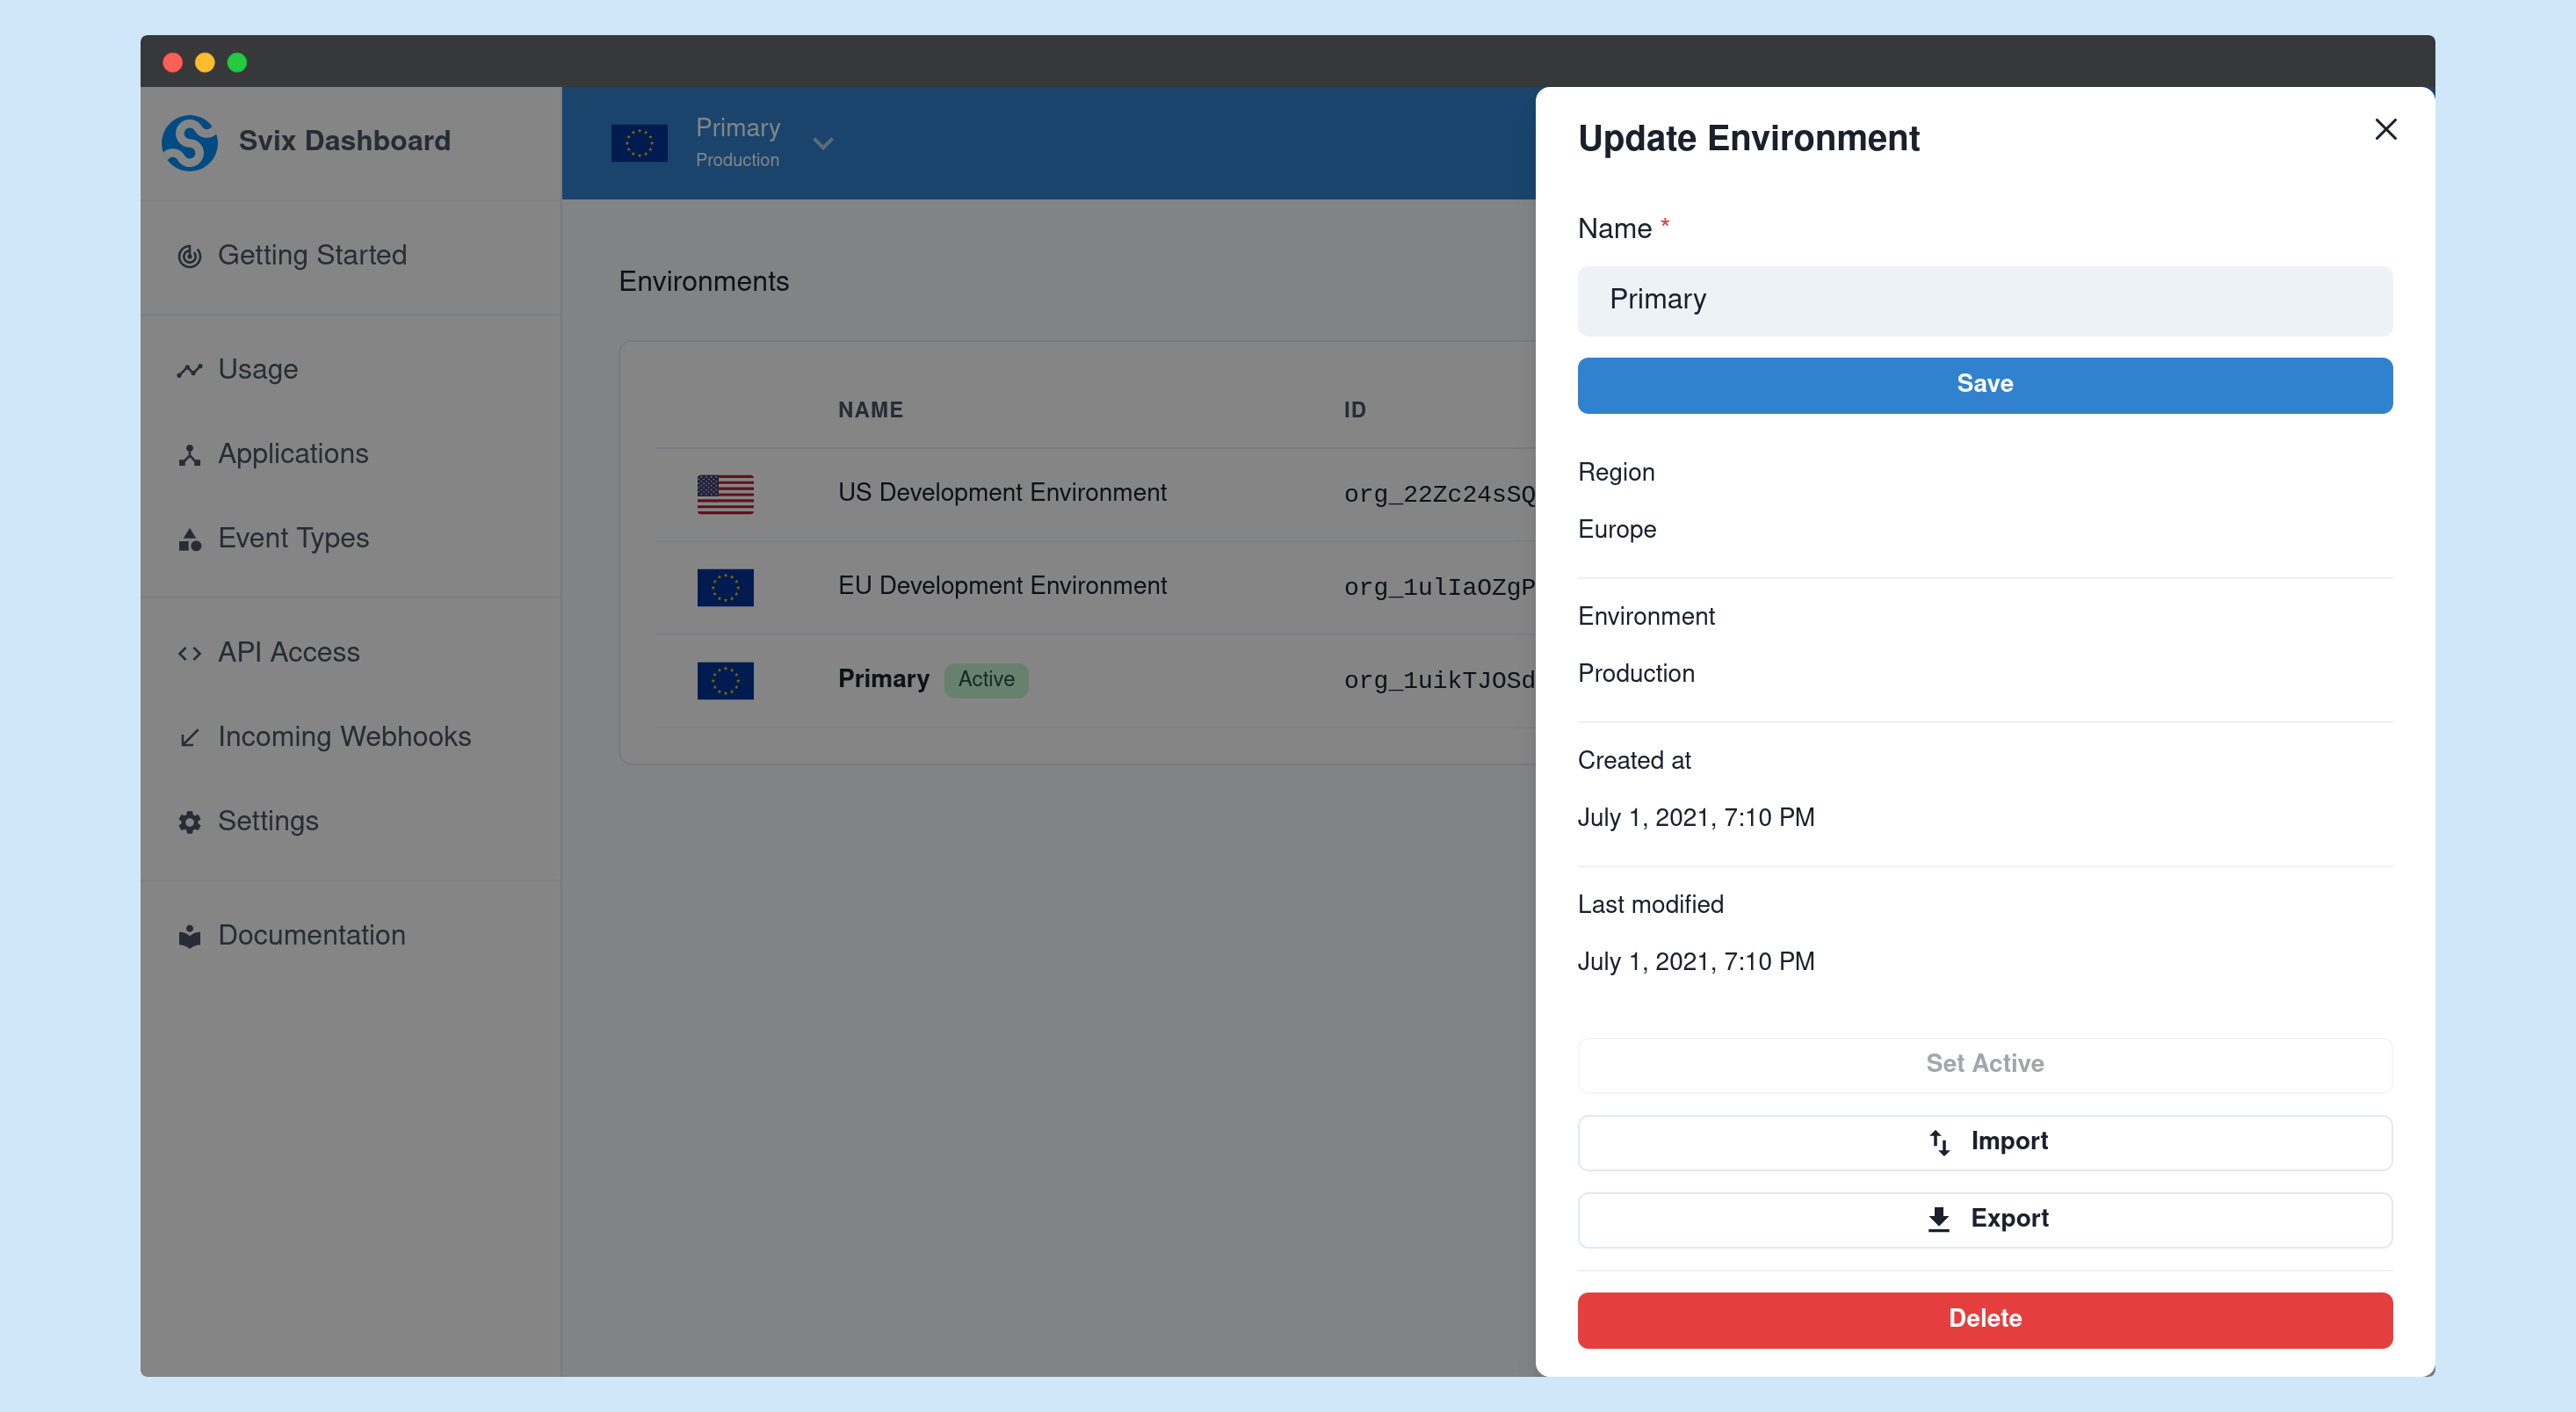
Environment import & export
Import and export makes it very easy to clone (or sync) environments, and thus make sure that your staging and production environments are identical. It also makes it possible to save your environment settings in version control in order to make sure you keep track of changes to your environment.
Export currently supports the environment settings as well as all of the event types. To import and export, all you need to do is to go to the environment management page on the dashboard, choose the wanted environment from the list, and then click either import or export.