Connectors Endpoints
Connectors is a Svix feature that lets you provide your customers with pre-made integrations to connect your webhooks to other services.
How to use Connectors
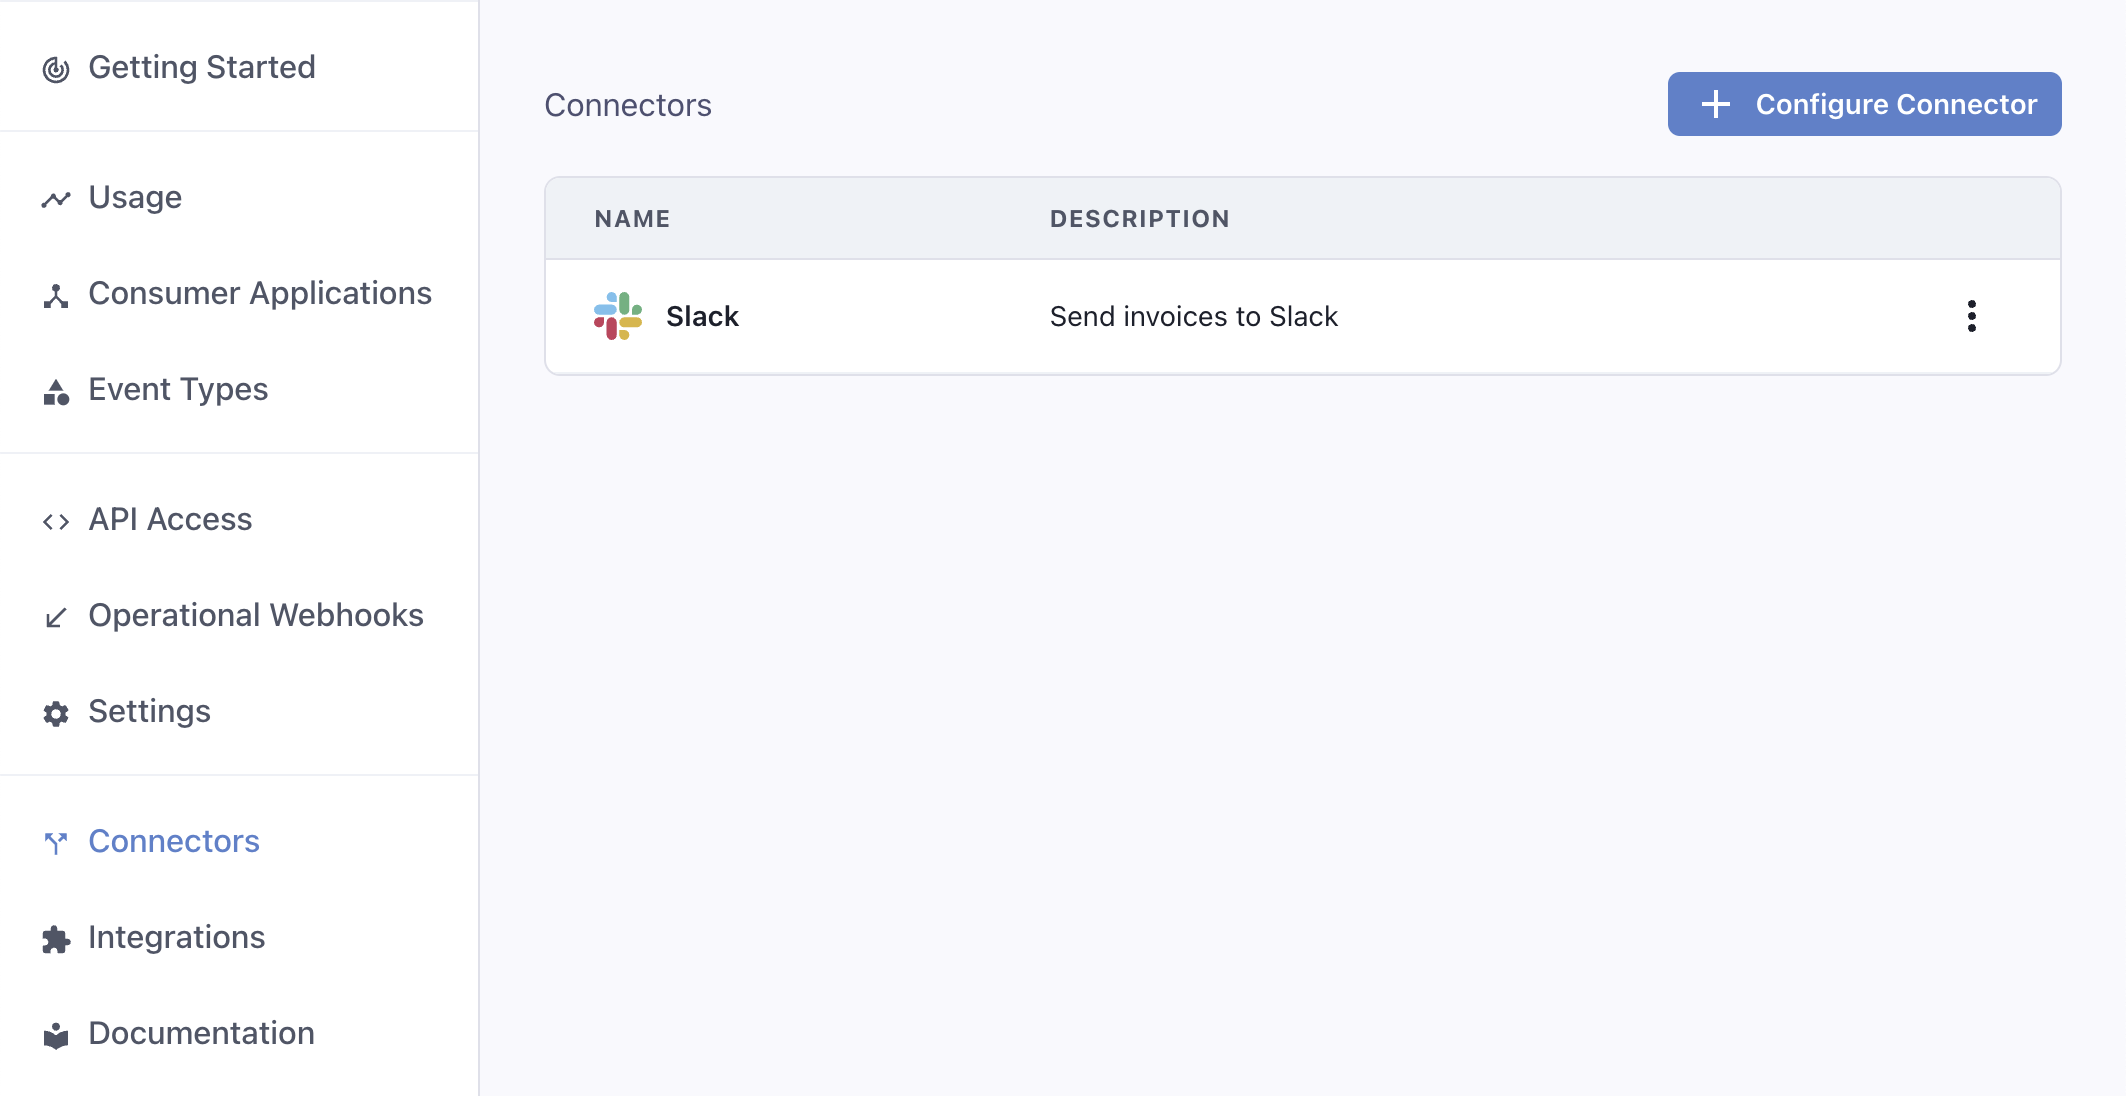
Connectors are enabled when enabling transformations. After enabling Transformations, you will see a new dashboard section where you will be able to create new connectors.

To configure a connector, you need to provide the following details:
Type: Choose from a set of services that provide easy webhook integrations, or chooseCustomto build your own integration. We currently support Slack, Discord, and many more services, listed below.Description: Describe the integration to your customers.Event Types: Specify which events are going to be supported out-of-the-box by the integration.Transformation Code: This is the glue code that will turn incoming webhook events into useful payloads for your integration. For example, if you are building a connector that sends Slack messages every time a new invoice is created, the transformation will readinvoice.createdevents and return a payload that works for Slack, like:
webhook.payload = { "text": `An invoice of $${webhook.payload.amount} has been created.` }
The transformation code needs to account for all event types you choose to support. You can define different behaviors for each event type by switching on the webhook.eventType field.
For example, this transformation will create a different message depending on if the event type is invoice.created or invoice.deleted:
/**
 * @param webhook the webhook object
 * @param webhook.method destination method. Allowed values: "POST", "PUT"
 * @param webhook.url current destination address
 * @param webhook.eventType current webhook Event Type
 * @param webhook.payload JSON payload
 * @param webhook.cancel whether to cancel dispatch of the given webhook
 */
function handler(webhook) {
  switch (webhook.eventType) {
    case "invoice.created":
      webhook.payload = {
        text: `${webhook.payload.name} created an invoice for $${webhook.payload.amount}`
      };
      break;
    case "invoice.deleted":
      webhook.payload = {
        text: `${webhook.payload.name} deleted an invoice`
      };
      break;
  }

  return webhook
}
Your customers will be able to customize the transformation code and the event types they listen to. Your definition should act as a working starting point they can use.
Connectors in the App Portal
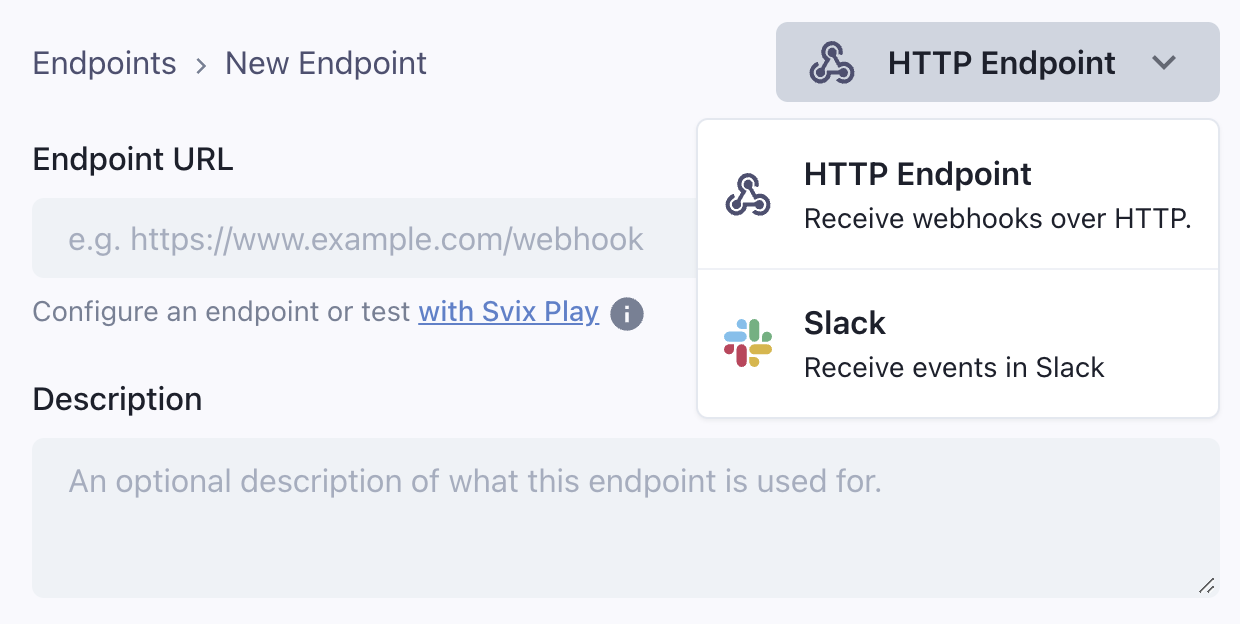
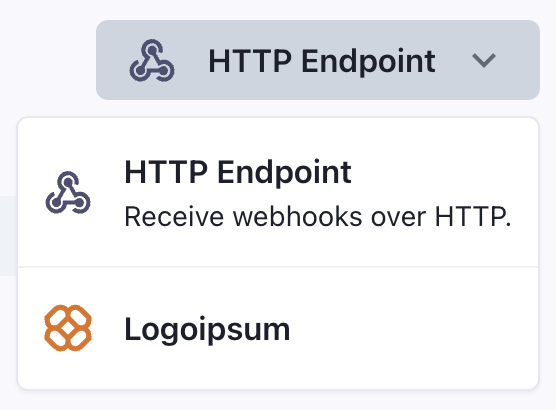
After creating at least one connector, your customers will be able to choose it when creating an endpoint.

Connection types
Slack
The Slack built-in integration lets you send messages to Slack channels via webhooks. It shows a 'Connect to Slack' button that lets your users get a Slack incoming webhook URL using OAuth in a few clicks, without leaving your site.

The transformation code should format the webhook payload according to Slack's Incoming Webhook API.
Here's an example transformation:
function handler(webhook) {
  /**
   * Example payload is:
   * {
   *   amount: 99.99,
   *   customer_name: "John Doe",
   *   invoice_id: "inv_123"
   * }
   *
   * See https://api.slack.com/messaging/webhooks#posting_with_webhooks
   */
  webhook.payload = {
    text: `💰 New invoice for $${webhook.payload.amount} from ${webhook.payload.customer_name}`
  };

  return webhook;
}
Discord
The Discord built-in integration lets you send messages to Discord channels via webhooks. It shows a 'Connect to Discord' button that lets your users get a Discord incoming webhook URL using OAuth in a few clicks, without leaving your site.

The transformation code should format the webhook payload according to Discord's Execute Webhook API.
Here's an example transformation:
function handler(webhook) {
  /**
   * Example payload is:
   * {
   *   user: {
   *     email: "john@example.com",
   *     name: "John Doe"
   *   },
   *   cancellation_reason: "Too expensive"
   * }
   *
   * See https://discord.com/developers/docs/resources/webhook#execute-webhook
   */
  webhook.payload = {
    embeds: [{
      title: "❌ Subscription Cancelled",
      description: `User ${webhook.payload.user.email} cancelled their subscription`,
      color: 0xff0000
    }]
  };

  return webhook;
}
Microsoft Teams
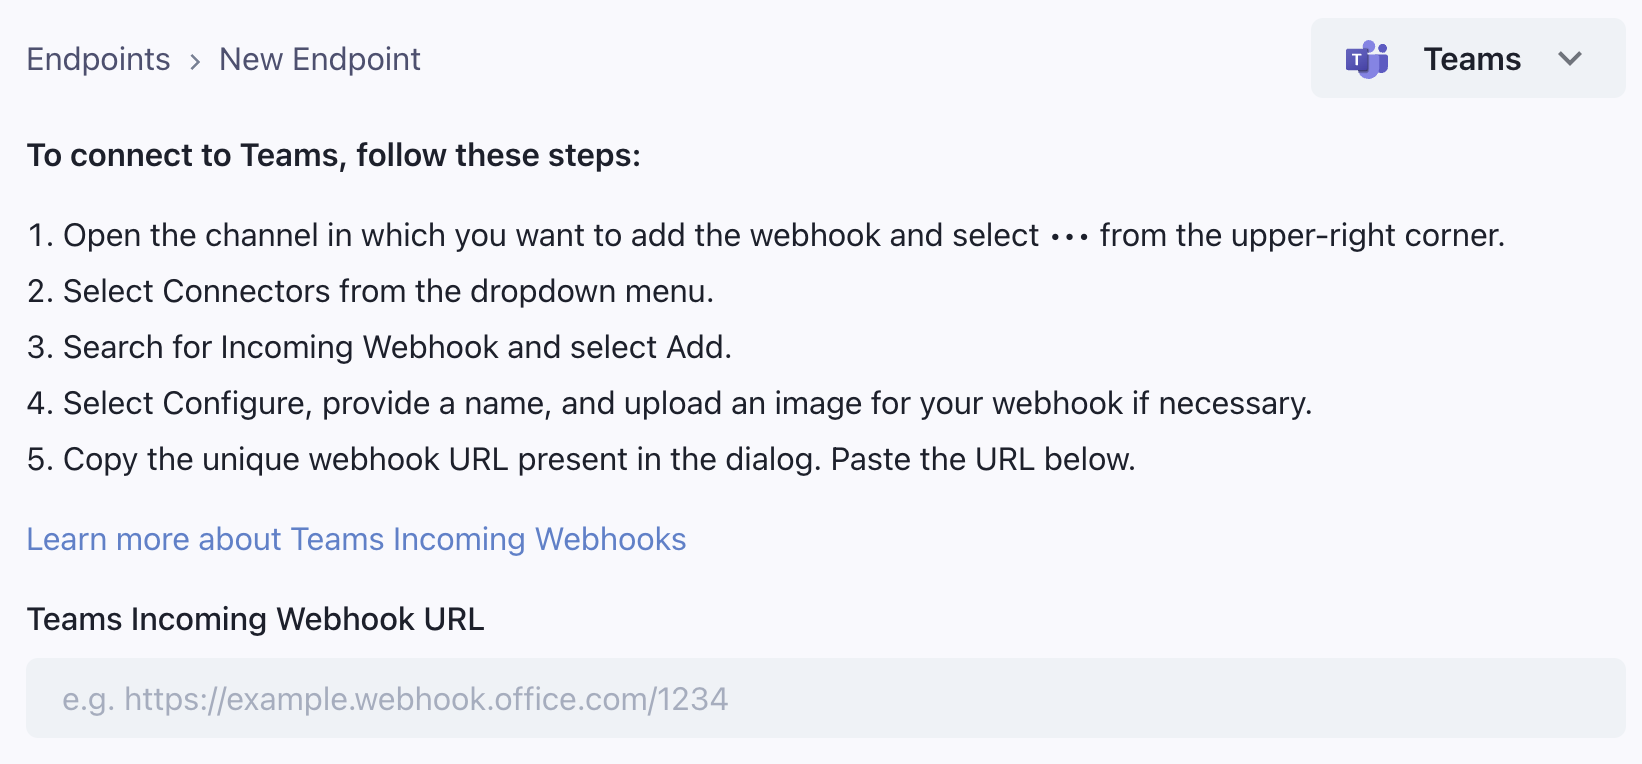
The Microsoft Teams integration will show your users instructions on how to get a Teams webhook URL.
The transformation code should format the webhook payload according to Microsoft Teams' Incoming Webhook API.

Here's an example transformation for a support ticket created event:
function handler(webhook) {
  /**
   * Example payload is:
   * {
   *   ticket_id: "TICKET-123",
   *   customer_name: "John Doe",
   *   priority: "high",
   *   description: "Can't access my account"
   * }
   *
   * See https://learn.microsoft.com/en-us/microsoftteams/platform/webhooks-and-connectors/how-to/connectors-using?#send-adaptive-cards-using-an-incoming-webhook
   */
  webhook.payload = {
    type: "message",
    attachments: [{
      contentType: "application/vnd.microsoft.card.adaptive",
      content: {
        type: "AdaptiveCard",
        body: [
          {
            type: "TextBlock",
            text: "🆘 New Support Ticket",
            weight: "Bolder"
          },
          {
            type: "TextBlock",
            text: `Ticket #${webhook.payload.ticket_id} from ${webhook.payload.customer_name}`
          }
        ]
      }
    }]
  };

  return webhook;
}
Hubspot
The Hubspot integration lets you connect webhooks directly to the Hubspot API. It shows a 'Connect to Hubspot' button that lets your users get a Hubspot access token that can be used to connect to the Hubspot API.
The integration will request access to the following OAuth scopes in the Hubspot API:
crm.objects.contacts.writecrm.objects.companies.writecrm.objects.deals.writecrm.objects.quotes.writecrm.objects.marketing_events.write

The transformation code should set the webhook URL to the Hubspot API endpoint (depending on the object) and format the payload appropriately to create the object in Hubspot.
For example, if you send a user.created webhook, and want to write a connector that creates a contact in Hubspot, the transformation code could look like this:
function handler(webhook) {
  /**
   * Example payload is:
   * {
   *   user: {
   *     firstname: 'John',
   *     lastname: 'Doe',
   *     email: 'john.doe@example.com'
   *   }
   * }
   */
  webhook.url = "https://api.hubapi.com/crm/v3/objects/contacts"; // The method is already POST
  webhook.payload = {
    properties: {
      email: webhook.payload.email,
      firstname: webhook.payload.user.firstname,
      lastname: webhook.payload.user.lastname,
    }
  };

  return webhook
}
Close CRM
The Close CRM connector lets your users connect their webhooks to the Close CRM API. Users enter their Close CRM API key in the App Portal.
This example uses Close CRM's Contact API, formatting the payload to create a contact in Close CRM:
function handler(webhook) {
  /**
   * Example payload is:
   * {
   *   user: {
   *     email: "john@example.com",
   *     name: "John Doe",
   *     phone: "+1234567890"
   *   }
   * }
   *
   * See https://developer.close.com/resources/contacts/
   */
  webhook.url = "https://api.close.com/api/v1/contact/";
  webhook.payload = {
    lead_id:"lead_QyNaWw4fdSwxl5Mc5daMFf3Y27PpIcH0awPbC9l7uyo",
    name: webhook.payload.user.name,
    emails: [webhook.payload.user.email],
    phones: [webhook.payload.user.phone]
  };

  return webhook;
}
Segment
The Segment connector lets your users send events to Segment's API. Users enter their Segment Write Key in the App Portal.
This example uses Segment's Track API, formatting the payload appropriately:
function handler(webhook) {
  /**
   * Example payload is:
   * {
   *   user: {
   *     id: "user123",
   *     email: "john@example.com",
   *     name: "John Doe"
   *   },
   *   event: "subscription_created",
   *   properties: {
   *     plan: "premium",
   *     price: 99.99
   *   }
   * }
   *
   * See https://segment.com/docs/connections/sources/catalog/libraries/server/http-api/#track
   */
  webhook.url = "https://api.segment.io/v1/track";
  webhook.payload = {
    userId: webhook.payload.user.id,
    event: webhook.payload.event,
    properties: {
      ...webhook.payload.properties,
      email: webhook.payload.user.email,
      name: webhook.payload.user.name
    },
    timestamp: new Date().toISOString()
  };

  return webhook;
}
Customer.io
The Customer.io connector lets your users send events to Customer.io's Track API. Users enter their Customer.io Site ID and API Key in the App Portal.
This example uses Customer.io's Track API, formatting the payload appropriately:
function handler(webhook) {
  /**
   * Example payload is:
   * {
   *   user: {
   *     id: "user123",
   *     email: "john@example.com",
   *     name: "John Doe"
   *   },
   *   event: "subscription_created",
   *   properties: {
   *     plan: "premium",
   *     price: 99.99
   *   }
   * }
   *
   * See https://docs.customer.io/integrations/api/track/
   */
  webhook.url = "https://track.customer.io/api/v2/entity";
  webhook.payload = {
    type: "person",
    identifiers: {
      id: webhook.payload.user.id
    },
    action: webhook.payload.event,
    name: webhook.payload.event,
    attributes: {
      ...webhook.payload.properties,
      email: webhook.payload.user.email,
      name: webhook.payload.user.name
    }
  };

  return webhook;
}
Sendgrid
The SendGrid connector lets your users send events as emails using SendGrid. Users enter their SendGrid API key in the App Portal.
The transformation code should format the webhook payload according to SendGrid's Mail Send API.
Here's an example transformation for a user signup event:
function handler(webhook) {
  /**
   * Example payload is:
   * {
   *   user: {
   *     email: "john@example.com",
   *     name: "John Doe"
   *   }
   * }
   *
   * See https://www.twilio.com/docs/sendgrid/api-reference/mail-send/mail-send
   */
  webhook.payload = {
    personalizations: [
      {
        to: [{ email: webhook.payload.user.email }]
      }
    ],
    from: {
      email: "notifications@yourdomain.com",
      name: "Your App"
    },
    subject: "Welcome to Your App!",
    content: [
      {
        type: "text/html",
        value: `<h1>Welcome ${webhook.payload.user.name}!</h1>
                <p>Thank you for signing up to our service.</p>`
      }
    ]
  };

  return webhook;
}
Resend
The Resend connector lets your users send events as emails using Resend. Users enter their Resend API key in the App Portal.
The transformation code should format the webhook payload according to Resend's Email API.
Here's an example transformation for a user signup event:
function handler(webhook) {
  /**
   * Example payload is:
   * {
   *   user: {
   *     email: "john@example.com",
   *     name: "John Doe"
   *   }
   * }
   *
   * See https://resend.com/docs/api-reference/emails/send-email
   */
  webhook.payload = {
    from: "Your App <notifications@yourdomain.com>",
    to: [webhook.payload.user.email],
    subject: "Welcome to Your App!",
    html: `<h1>Welcome ${webhook.payload.user.name}!</h1>
           <p>Thank you for signing up to our service.</p>`
  };

  return webhook;
}
Loops
The Loops connector lets your users send events to Loops to trigger email automations. Users enter their Loops API key in the App Portal.
The transformation code should format the webhook payload according to Loops' Send Event API.
Here's an example transformation for a user signup event:
function handler(webhook) {
  /**
   * Example payload is:
   * {
   *   user: {
   *     email: "john@example.com",
   *     id: "user123"
   *   }
   * }
   *
   * See https://loops.so/docs/api-reference/send-event
   */
  webhook.payload = {
    email: webhook.payload.user.email,
    userId: webhook.payload.user.id,
    eventName: "user_signup",
    eventProperties: {
      source: "webhook"
    }
  };

  return webhook;
}
Windmill
The Windmill connector lets your users get a Windmill webhook URL in a few clicks from the App Portal. It supports Windmill Cloud as well as self-hosted Windmill instances.

Since Windmill webhooks support arbitrary payloads, it does not require any custom transformation code.
 Inngest
The Inngest connector lets your users send events to Inngest to trigger serverless functions. Users enter their Inngest API key in the App Portal.
Since Inngest webhooks support arbitrary payloads, it does not require any custom transformation code.
Zapier
The Zapier connector lets your users send events to Zapier to trigger automations. It shows instructions on how to get a Zapier webhook URL.
Since Zapier Webhooks support arbitrary payloads, it does not require any custom transformation code.
Custom Integration
In case you don't find a built-in integration for the service you want to connect to, you can create a custom integration. You can provide your own integration name and icon, and write instructions for your users on how to use it.
Learn more about Custom Connectors

If you have a request for a built-in integration not listed above, contact us.