Consumer App Portal
Svix comes with a consumer application portal for your users (webhook consumers) that you can use out of the box. Your users can then use it to add endpoints, debug delivery, as well as inspect and replay past webhooks. This is the easiest way to get started, but you can alternatively use the API to build your own.
If you're looking for a live instance of the app portal, you can find one here: https://example.svix.com/
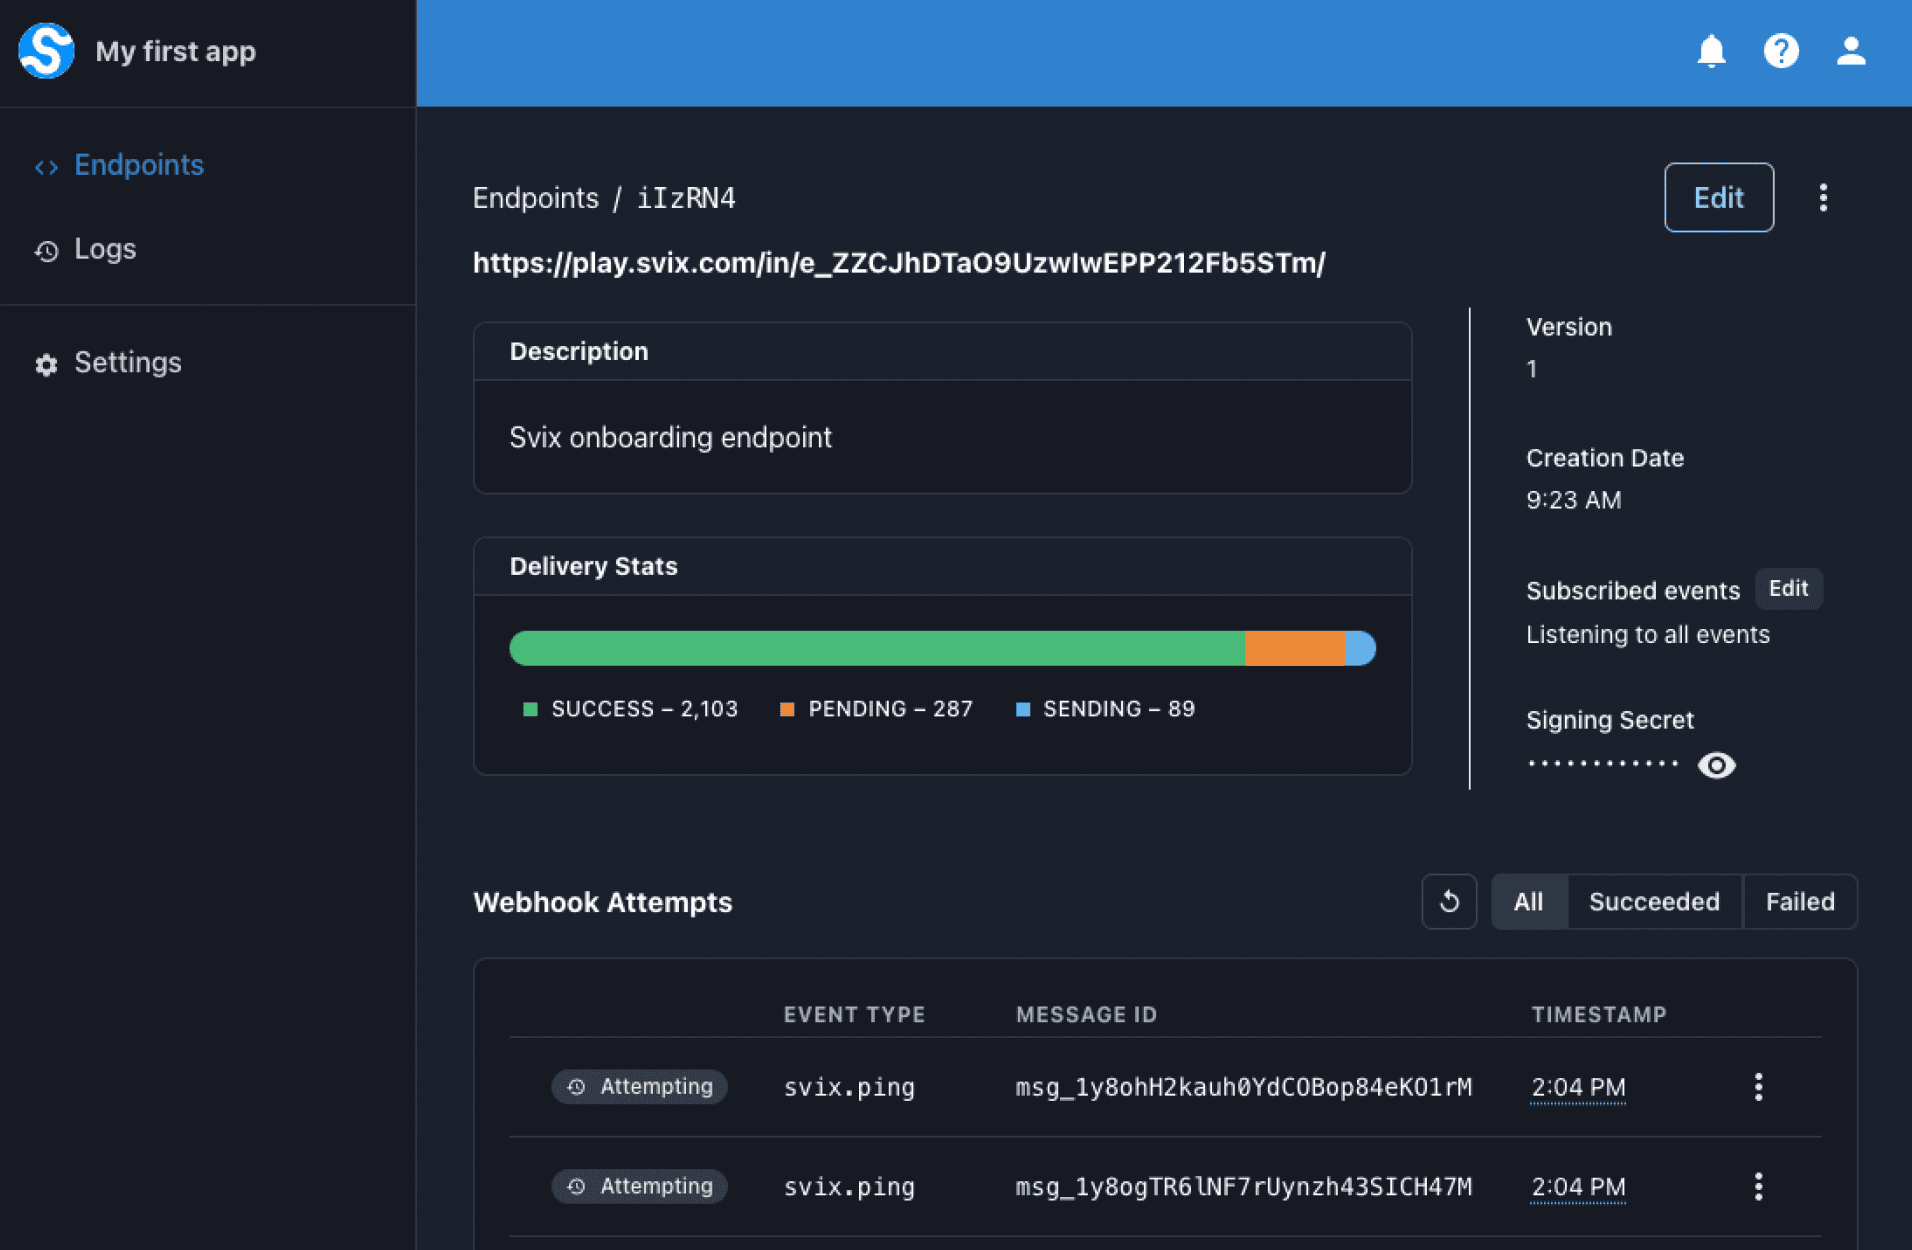
Here is what it looks like standalone, or scroll down for the embedded version:
Application portal usage guides
For more information on how to use the app portal please refer to the receiving webhooks section of the docs.
Giving your users access
App portal access is based on short-lived sessions using special magic links. You customers don't need a Svix account, and they don't even need to know that Svix exists.
To give your users access to the App Portal, just use the app portal access endpoint. Calling this endpoint with an app_id returns a single-use URL you can just redirect your users to in order to log them into the App Portal. They will stay logged in for a few days or until they log out.
- JavaScript
- Python
- Rust
- Go
- Java
- Kotlin
- Ruby
- C#
- CLI
- cURL
const svix = new Svix("AUTH_TOKEN");
const dashboard = await svix.authentication.appPortalAccess("app_Xzx8bQeOB1D1XEYmAJaRGoj0", {});
// A URL that automatically logs user into the dashboard
console.log(dashboard.url);
svix = Svix("AUTH_TOKEN")
dashboard = svix.authentication.app_portal_access("app_Xzx8bQeOB1D1XEYmAJaRGoj0", AppPortalAccessIn())
# A URL that automatically logs user into the dashboard
print(dashboard.url)
svixClient := svix.New("AUTH_TOKEN", nil)
dashboard, _ := svixClient.Authentication.AppPortalAccess(ctx, "app_Xzx8bQeOB1D1XEYmAJaRGoj0", &svix.AppPortalAccessIn{})
// A URL that automatically logs user into the dashboard
fmt.Println(dashboard.Url)
let svix = Svix::new("AUTH_TOKEN".to_string(), None);
let dashboard = svix
    .authentication()
    .app_portal_access(
        "app_Xzx8bQeOB1D1XEYmAJaRGoj0".to_string(),
        AppPortalAccessIn::default(),
        None,
    )
    .await?;
// A URL that automatically logs user into the dashboard
println!("{}", dashboard.url);
Svix svix = new Svix("AUTH_TOKEN");
AppPortalAccessOut dashboard = svix.getAuthentication().appPortalAccess("app_Xzx8bQeOB1D1XEYmAJaRGoj0", new AppPortalAccessIn());
// A URL that automatically logs user into the dashboard
System.out.println(dashboard.getUrl());
val svix = Svix("AUTH_TOKEN")
val dashboard = svix.authentication.appPortalAccess("app_Xzx8bQeOB1D1XEYmAJaRGoj0", AppPortalAccessIn())
// A URL that automatically logs user into the dashboard
println(dashboard.url)
svix = Svix::Client.new("AUTH_TOKEN")
dashboard = svix.authentication.app_portal_access("app_Xzx8bQeOB1D1XEYmAJaRGoj0", Svix::AppPortalAccessIn.new({}))
# A URL that automatically logs user into the dashboard
puts dashboard.url
var svix = new SvixClient("AUTH_TOKEN", new SvixOptions("https://api.us.svix.com"));
var dashboard = await svix.Authentication.AppPortalAccessAsync("app_Xzx8bQeOB1D1XEYmAJaRGoj0", new AppPortalAccessIn{});
// A URL that automatically logs user into the dashboard
Console.WriteLine(dashboard.Url)
export SVIX_AUTH_TOKEN="AUTH_TOKEN"
svix authentication app-portal app_Xzx8bQeOB1D1XEYmAJaRGoj0
curl -X POST "https://api.us.svix.com/api/v1/auth/app-portal-access/app_Xzx8bQeOB1D1XEYmAJaRGoj0/" \
    -H  "Accept: application/json" \
    -H  "Authorization:  Bearer AUTH_TOKEN" \
    -H 'Content-Type: application/json' \
    -d '{}'
If you want your users to be redirected to a specific page of the App Portal after login, you can add a next query parameter to the URL:
https://app.svix.com/login?next=/endpoints/abc#key=xyz
You should use a URL parsing library to add the query parameter (avoid editing the URL manually). Not all pages are supported.
Feature flags
When creating an App Portal URL, you can optionally specify a list of feature flags (using the featureFlags: [ ... ] field) to restrict which event types your users will see in the Event Catalog and the API.
To learn more refer to the Event Types documentation.
Session IDs
App Portal URLs can also be generated with a specific session ID, using the sessionId field. App Portal URLs created with a session ID can be selectively invalidated by the Expire All endpoint by including the session ID in the Expire All request.
Multiple App Portal URLs can be created with the same session ID, and if Expire All is called with a session ID, only App Portal URLs with that specific session ID will be invalidated.
Embedding in your own dashboard
Embedding as an iframe
The returned URL from the previous section can also be embedded in your own dashboard using an iframe.
To add this to your application, just pass the URL you received in the previous example to the src property of the iframe:
<iframe
  src="http://app.svix.com/login#key=eyJhcHBJZCI6ICJhcHBfMXRSdFlMN3pwWWR2NHFuWTRRZFI1azE4eXQ0IiwgInRva2VuIjogImFwcHNrX2UxOUN0Rm5hbTFoOU1Gamh5azRSMTUzNUNSd05VSWI0In0="
  style="width: 100%; height: 100%; border: none;"
  allow="clipboard-write"
  loading="lazy"
>
</iframe>
We have also included some basic styling to make the iframe to look nicer, though that can be omitted or modified depending on your needs.
Important: the allow directive above is required for clipboard actions to work, though they may still fail if you've blocked them with the Permissions Policy header.
Embedding in a React application
We also provide the svix-react package that you can use to easily embed the App Portal. To use it, simply run:
npm install svix-react
# or
yarn add svix-react
The npm package is lightweight and provides some basic styling and a loading indicator out of the box. To use it, simply provide the magic link from the app_portal_access endpoint.
import React from "react";
import ReactDOM from "react-dom";
import { AppPortal } from "svix-react";

import "svix-react/style.css";

const SvixEmbed = () => {
  const [appPortal, setAppPortal] = React.useState(null);

  React.useEffect(() => {
    // Prerequisite: You'll need an endpoint that returns the App Portal
    // magic URL (https://api.svix.com/docs#tag/Authentication/operation/v1.authentication.app-portal-access)
    fetch(`/your-backend-service/svix/app-portal`, { method: "POST" })
      .then((res) => res.json())
      .then((result) => setAppPortal(result));
  }, []);

  return <AppPortal url={appPortal?.url} />;
};

const App = () => <SvixEmbed />;

ReactDOM.render(<App />, document.body);
You can optionally use the fullSize prop (<AppPortal fullSize />) so that App Portal will automatically grow to fit its contents.
Example integration
The svix-example repo contains an example implementation of the App Portal in a React application, using NextJS. In the webhooks Dashboard page, you can see how to get the App Portal login URL and use it to render the App Portal in an iframe.
Design Considerations
When embedding the App Portal into your application, keep in mind that the App Portal is an information dense master-detail view. We recommend keeping the view at 100% width to avoid abbreviating important information for your users. If you are hoping to avoid having an embedded scrollbar, we recommend putting the view inside a full screen modal from your dashboard, or using the fullSize prop so that the App Portal sizes itself based on its content.
White labeling
Keep the same look and feel of your application by white labeling the App Portal. From the Svix dashboard, you can configure the color palette, font and the logo that your users will see.
To customize these settings, please head to your Organization Settings on the Svix Dashboard.
Custom settings per application
In some scenarios, you may want to customize the application portal per application, rather than for your whole organization. For example, if you change the color of your own dashboard for each of your users.
This is possible by changing the query parameters of the URL to the settings of your choosing.
Please use proper URL parsing rather than string manipulation as the structure of the URL (e.g. the fragment part) may change. Another reason to use proper URL parsing is that you want to make sure to URL-encode the parameters.
The supported parameters are:
primaryColorLightandprimaryColorDark- the primary color of the UI in light and dark mode, respectively. Format:RRGGBB, e.g.28bb93.icon- a URL to an image file. E.g.https://www.example.com/logo.png(remember to URL-encode it!).fontFamily- one of the fonts listed in the dashboard (see previous section). E.g.Roboto.darkMode- when set totrue, dark mode will be turned on by default when the app portal is opened.noGutters- when set totrue, the app portal will not have any left or right padding within the iframe. This can be useful to align the app portal content with other elements in your site.
So for example:
http://app.svix.com/login?primaryColorLight=22cc91&primaryColorDark=28bb93&darkMode=true&fontFamily=Roboto#key=eyJhcHBJZCI6ICJhcHBfMXRSdFlMN3pwWWR2NHFuWTRRZFI1azE4eXQ0IiwgInRva2VuIjogImFwcHNrX2UxOUN0Rm5hbTFoOU1Gamh5azRSMTUzNUNSd05VSWI0In0=
Implementing your own Consumer App Portal functionality
You can implement Consumer App Portal functionality into your own dashboard using ergonomic React Hooks provided by the svix-react library. This approach allows you to use your own UI structure and components. The hooks are an abstraction over the svix JavaScript library and help to handle concerns like paginating over large lists of data, and reloading data.
Using the hooks requires wrapping your application or components in <SvixProvider />:
import { SvixProvider } from 'svix-react'

export default function App() {
  return (
    <SvixProvider token={token} appId={appId}>
      {/** your app's components **/}
    </SvixProvider>
  )
}
Then, you can use hooks like useMessages:
import { useEndpoints } from 'svix-react'

export default function ListEndpoints() {
  const endpoints = useEndpoints()

  return (
    <div>
      {endpoints.error && <div>An error has occurred</div>}
      {endpoints.loading && <div>Loading...</div>}
      <ul>
        {endpoints.data?.map((endpoint) => (
          <li>{endpoint.url}</li>
        ))}
      </ul>
      <button disabled={!endpoints.hasPrevPage} onClick={endpoints.prevPage}>
        Previous Page
      </button>
      <button disabled={!endpoints.hasNextPage} onClick={endpoints.nextPage}>
        Next Page
      </button>
    </div>
  )
}
To get started and see a full list of hooks, refer to the svix-react NPM package.
Read Only Consumer App Portals
You can set all Consumer App Portals belonging to an environment to be read only by enabling the Read Only toggle on the Environment Settings page.